
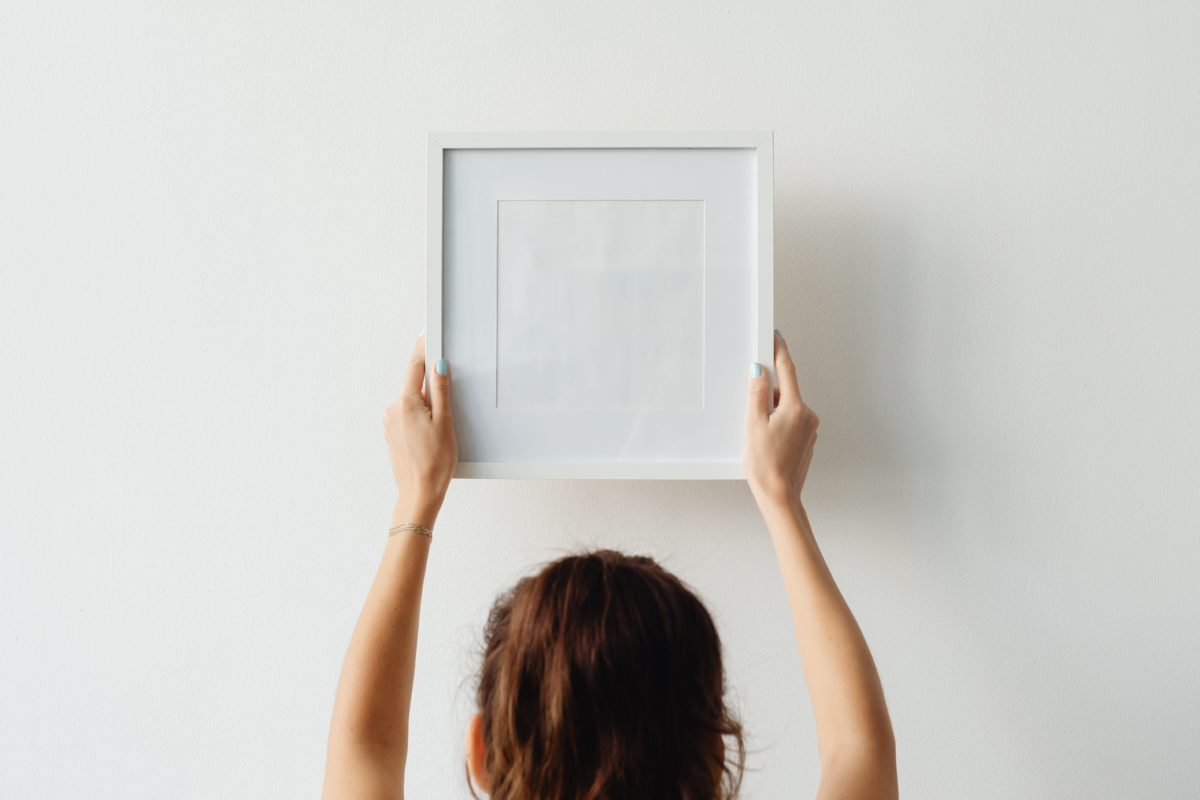
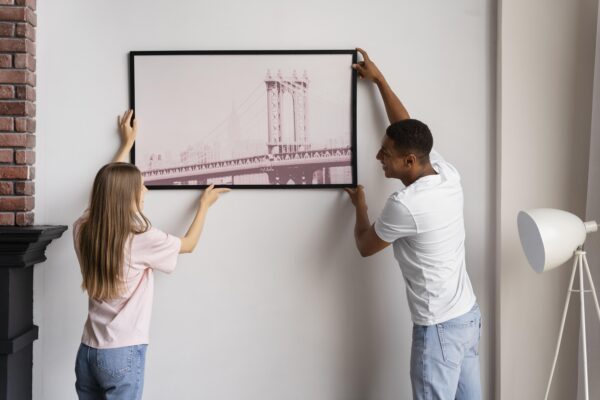
A poorly hung picture draws the eye, but not in a good way. Hanging pictures properly and securely is not a difficult job. But it’s always a good idea to have another set of hands and eyes there to help.
The first decision is what picture to hang where, whether to form some kind of arrangement, hang them individually or hang them in a row and how high they should go. Some of these decisions come down to personal taste and the nature of the pieces. There are a few general rules and tips I can share with you to assist.
How to Decide What to Hang Where
Most galleries hang work with the centre 1500 mm from the ground. This is considered to be an average adult eye height. You’ll have to consider the height of furniture and position of windows. Whatever height you decide to go with, it’s important to be consistent. In each room make the centre line the same for every picture.
If you’re arranging a group of pictures together, consider the whole group as one and work out your centre from there. It may be helpful to cut out some paper rectangles that match the size of your frames and use these to help you make your arrangement (stick on temporarily with Blu-Tack and stand across the other side of the room to see if you like the arrangement). If you’re arranging your pictures in a row or individually around the house, set them all out on the floor first until you’re happy with the positions before starting to install.
Never hang artwork in direct sunlight even with protective UV- blocking glass, prolonged exposure will fade images. Also, don’t hang artwork above sources of heat temperature swings can cause condensation to form inside a frame, damaging the image, and smoke from fireplaces will stain them.
Get Yourself a Laser Level
If you find yourself hanging a lot of pictures, shelves or even the occasional TV on walls, you may consider buying a laser level. They’re very handy and will give you extremely good accuracy across long distances. Many are designed for wall work and can be attached to the wall. It will project a long level line of light for you to work with and give you both hands free for other tasks. There are a great range of DIY quality laser levels available you’ll pick one up at any hardware store. Some also double as a stud finder, which is very useful for hanging anything heavy, and some will warn you of live wires or pipes lurking behind.
Choosing the Fixings
Choosing the right fixings for a picture is a difficult task, so you need to make a good assessment of the job at hand:
- Examine the picture to be hung what type of hanging device it’s attached to, its weight and size.
- Examine the wall where it’s to be hung, and determine what material it’s constructed from, its thickness and surface type.
- If it’s a stud frame wall, try to locate the studs and see if they coincide with your hanging position.
All of this information will help you (and the hardware sales assistant)
Choose the Right Fixings
The few main types I come back to again and again are as follows:
- Masonry walls. Use plastic wall plugs. Plugs will be strong enough for most works. Fit the right-sized masonry drill bit into your hammer drill. Make a hole the correct depth, clean out the dust and tap in the plug. If there’s any excess protruding, cut it off with a sharp chisel before driving in a screw.
- Plasterboard walls: Mostly pieces can be hung from screw-in plasterboard wall anchors, like Wall Mates. These are inserted with a screwdriver or cordless drill and have a three-pronged end on them that pierces the wall and then a deep open-threaded shaft that imbeds itself into the plasterboard. Once screwed into the wall, an ordinary pan head or button head screw can be inserted into the centre of the anchor to hang from. These types of anchors will hold up to 10 kg each one or two is plenty for most jobs. If you’re lucky enough to have a stud in the right position, just the wood screw will do. Use a minimum 45 mm.
- Plasterboard with wallpaper: If the plasterboard has a wallpaper surface I’d consider using some angle drive picture hooks. As these are metal surface hooks with a pair of pre-positioned nails that drive into the wall at a downward angle. These will minimise damage to the surface and will also hold 10 kg each.
- Plywood or thin fibre cement: If your walls are made of thin fibre cement or plywood, try sticking to the stud positions. If the studs don’t work out and you have to hang from the board, use a toggle-type anchor. These require a hole to be drilled first (beware of asbestos) and the toggle device then pushed through the hole. Once into the cavity the toggle will either drop or spring open (depending on type chosen). The screw at the front of the toggle is then tightened to clamp the device either side of the wall surface.